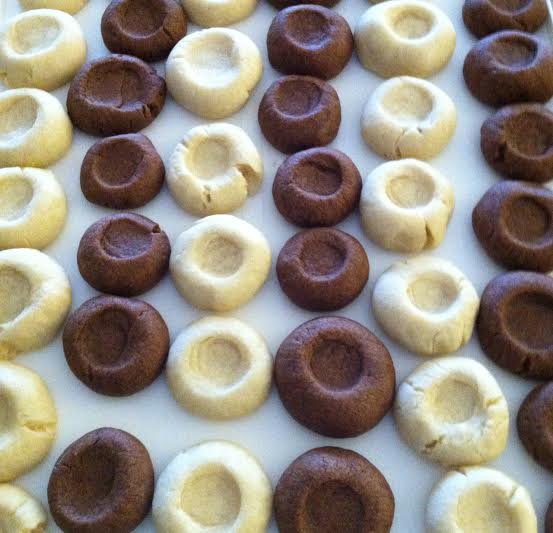
When it comes to cookies, a child’s job at Christmas is simple: find the treats on the table that look the tastiest, consume, repeat. An adult’s job, however, is a bit more complex—but that doesn’t mean it can’t be fun. Here’s a versatile recipe for thumbprint cookies that will be a sweet hit on your holiday spread.
I came across a recipe in the December 2010 issue of Martha Stewart Living for thumbprint cookies with lots of variations. I had never made them before, but I took finding the recipe as a sign to give them a whirl, and now these cookies have become a staple of my pre-Christmas baking. Not only are they customizable, but the combination of a buttery cookie plus a sweet filling is positively decadent.
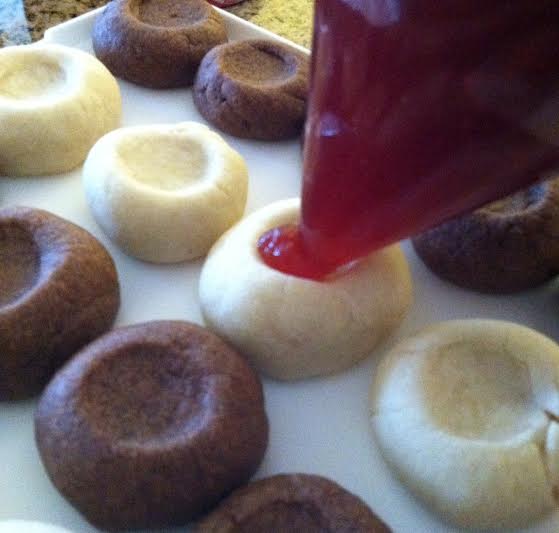
To make the process easier, especially if little hands are involved, make the dough the night before and refrigerate it. Also, rather than spooning filling into cooled thumbprints, try piping the filling with a pastry bag or a zip-top bag with one of the bottom corners cut off. This keeps hands from getting sticky and makes for easy clean-up!
Basic Vanilla Cookie Dough
Ingredients:
-
3 cups all-purpose flour
-
½ teaspoon salt
-
2 sticks unsalted butter, softened
-
1 cup sugar
-
1 large egg
-
2 teaspoons pure vanilla extract
-
Fillings for cookies, like strawberry jam, seedless raspberry jam, apricot preserves or ganache.
Chocolate Flavor Variation: Replace ⅓ cup flour with ⅓ cup unsweetened cocoa powder.
Method:
-
Preheat oven to 350 degrees.
-
Whisk together flour and salt.
-
Beat butter and sugar with a mixer on medium-high speed until pale and fluffy.
-
Beat in egg and vanilla. Reduce speed to low.
-
Add flour mixture and beat until combined.
-
Dough can be refrigerated overnight or frozen for up to one month. Allow dough to come close to room temperature prior to rolling cookies.
-
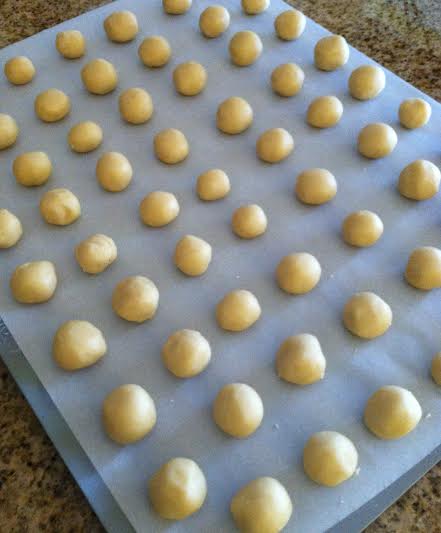
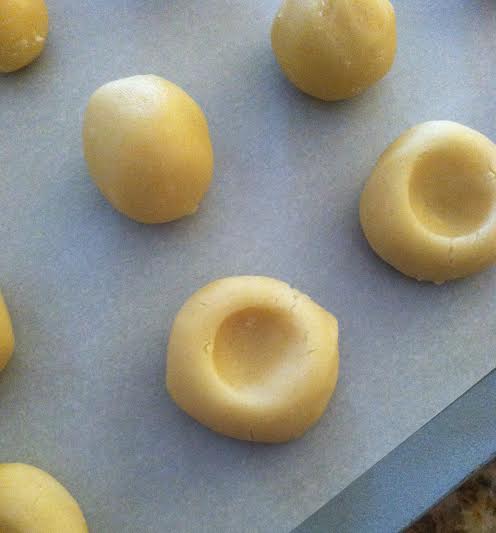
Roll dough into 1” balls. Arrange them on parchment-lined baking sheets, spacing them about 1” apart.
-
Press a well into the center of each using your finger. Refrigerate until firm, about 30 minutes.
-
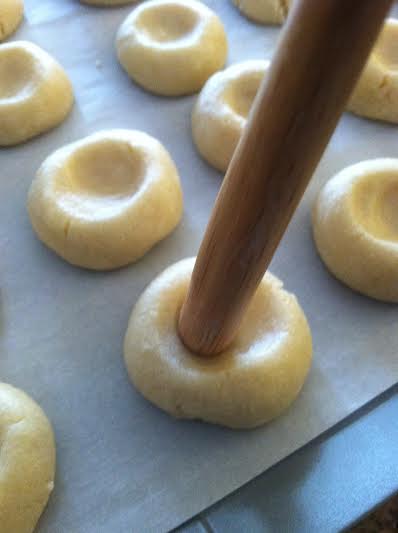
Bake for 7 minutes. Remove from oven and press well again with the handle end of a wooden spoon. Bake until firm, about 7-9 minutes more.
-
Allow to cool completely before adding filling.
Have you tried making thumbprints? Share your favorite cookie/filling combinations with us in the comments section!
- Photography: Maggie Mitchell