Two years ago, I decided to take my passion for homebrewing a step further by growing my own hops. This was the ultimate collision of my love for brewing beer, my fascination with horticulture and my locavore attitude. What’s more local than brewing a beer with hops grown in your own backyard?
Growing and malting your own barley is a serious undertaking, but growing your own hops is actually not too difficult, even for a novice gardener like myself. I started with eight plants in two locations in my yard. The plants in the backyard took off pretty quickly, but those in the front yard did not do so well. That was a lesson learned on finding a spot with long periods of sun daily.
Of the eight different hop varieties I used, I found that some were better suited for our climate (my Centennial got large pretty quickly) while some failed. Not all of your plants may survive the first year of growth, but if you give them enough TLC and they last that first year, then they will be easier to care for each subsequent year. If you choose a good spot and make sure they are watered every few days for the first couple of months you will find hops are hardy, fast growing,and you will definitely find pleasure in drinking them in your next fall homebrew.
What are Hop Rhizomes?
In order to start growing hops in your backyard the first step is to get your hands on hop rhizomes to plant. Rhizomes are stems that spread underground from the crown of a healthy hop plant to propagate new plants. These rhizomes can be harvested from healthy hop plants every few years to start new plants.
You can find hop rhizomes for sale online, on Craigslist, or sometimes local homebrew shops will carry them in the spring. The larger the rhizome you buy, the better the head start you will have on getting higher hop yields come harvest time. If your new rhizome arrives and you are not ready to plant it, you can store it in a plastic bag in the fridge. Make sure the bag contains a little moisture for the plant and some holes in the bag to let it breathe. If you are planning on storing the rhizome for more than a few days you can also plant the rhizome in a pot to get a head start then move it into the ground when you are ready.
How to Plant Your Rhizome
It is best to plant your rhizome in early spring, after the last frost, but no later than the end of May. Rhizomes should be planted in a place that gets plenty of sunlight, preferably six to eight hours a day. The planting bed you use should be tilled to remove any weeds and allow proper drainage. It is also a good idea to add fertilizer rich in phosphate, nitrogen, and potassium to the soil in early spring.
When planting you should leave about three feet of space between your plants if they are of the same hop varietal. If your plants are different breeds than they should have five feet between plants. Your rhizomes should be planted vertically with the white buds facing up. Each hop plant should be planted in a slightly raised mound to promote drainage and should be planted about 1 inch deep under loosely packed soil.
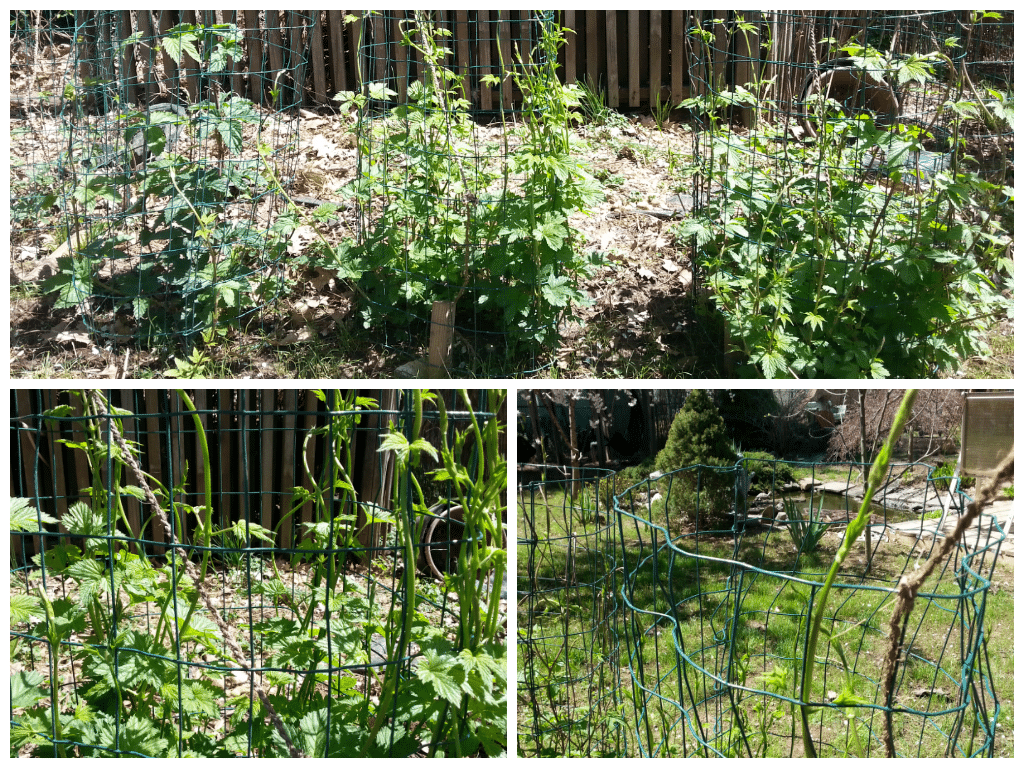
One of the most important parts of your planting location is having something for the new bines (hops grow bines not vines) to grow up. For this you can use a fence, a trellis, or ropes that the bines can climb. Bines can either grow vertically upward or they can also grow horizontally along a fence.
My current set-up includes tomato cages, to protect the plant, that attach to coir yarn that extends upward twenty feet into an old oak tree where they are fastened to a lower branch. The coir yarn is a strong and thick twine that can withstand the elements, and its coarse texture is perfect for giving the hop bines extra grip for easy climbing. I also prefer the coir yarn because it is easy to untie and take down from the tree at the end of the growing season, which makes harvesting your hop cones much easier. Hop coir is available online on many of the same websites that sell hop rhizomes.
Your hop plant may only grow ten feet in the first year, but after the second or third year the plant may exceed twenty feet by the end of summer; so, make sure to give the bines plenty of space to stretch out.
How to Water & Prune Your Hop Rhizome
 In the first year, hop plants require frequent light watering, but they don’t need as much watering in subsequent years. Hop plants are very hardy, but one of their weaknesses is rot, so make sure not to over-water your plants. The soil around the plant should have time to dry between waterings and plants should be watered in the morning if possible. When your hop plants start to take off they can grow up to a foot per day.
In the first year the harvest’s yield will be pretty small and the plant itself will not need too much pruning as the main priority is building a strong root system. In the following years pruning plays a bigger role in maintaining a strong plant. In the beginning of the second year (and subsequent years) you want to prune your plant so that the two or three strongest bines will work their way up the twine while the smaller bines are cut back. This will ensure that the energy the plant is utilizing will be focused on those few bines so they can have a much more productive harvest.
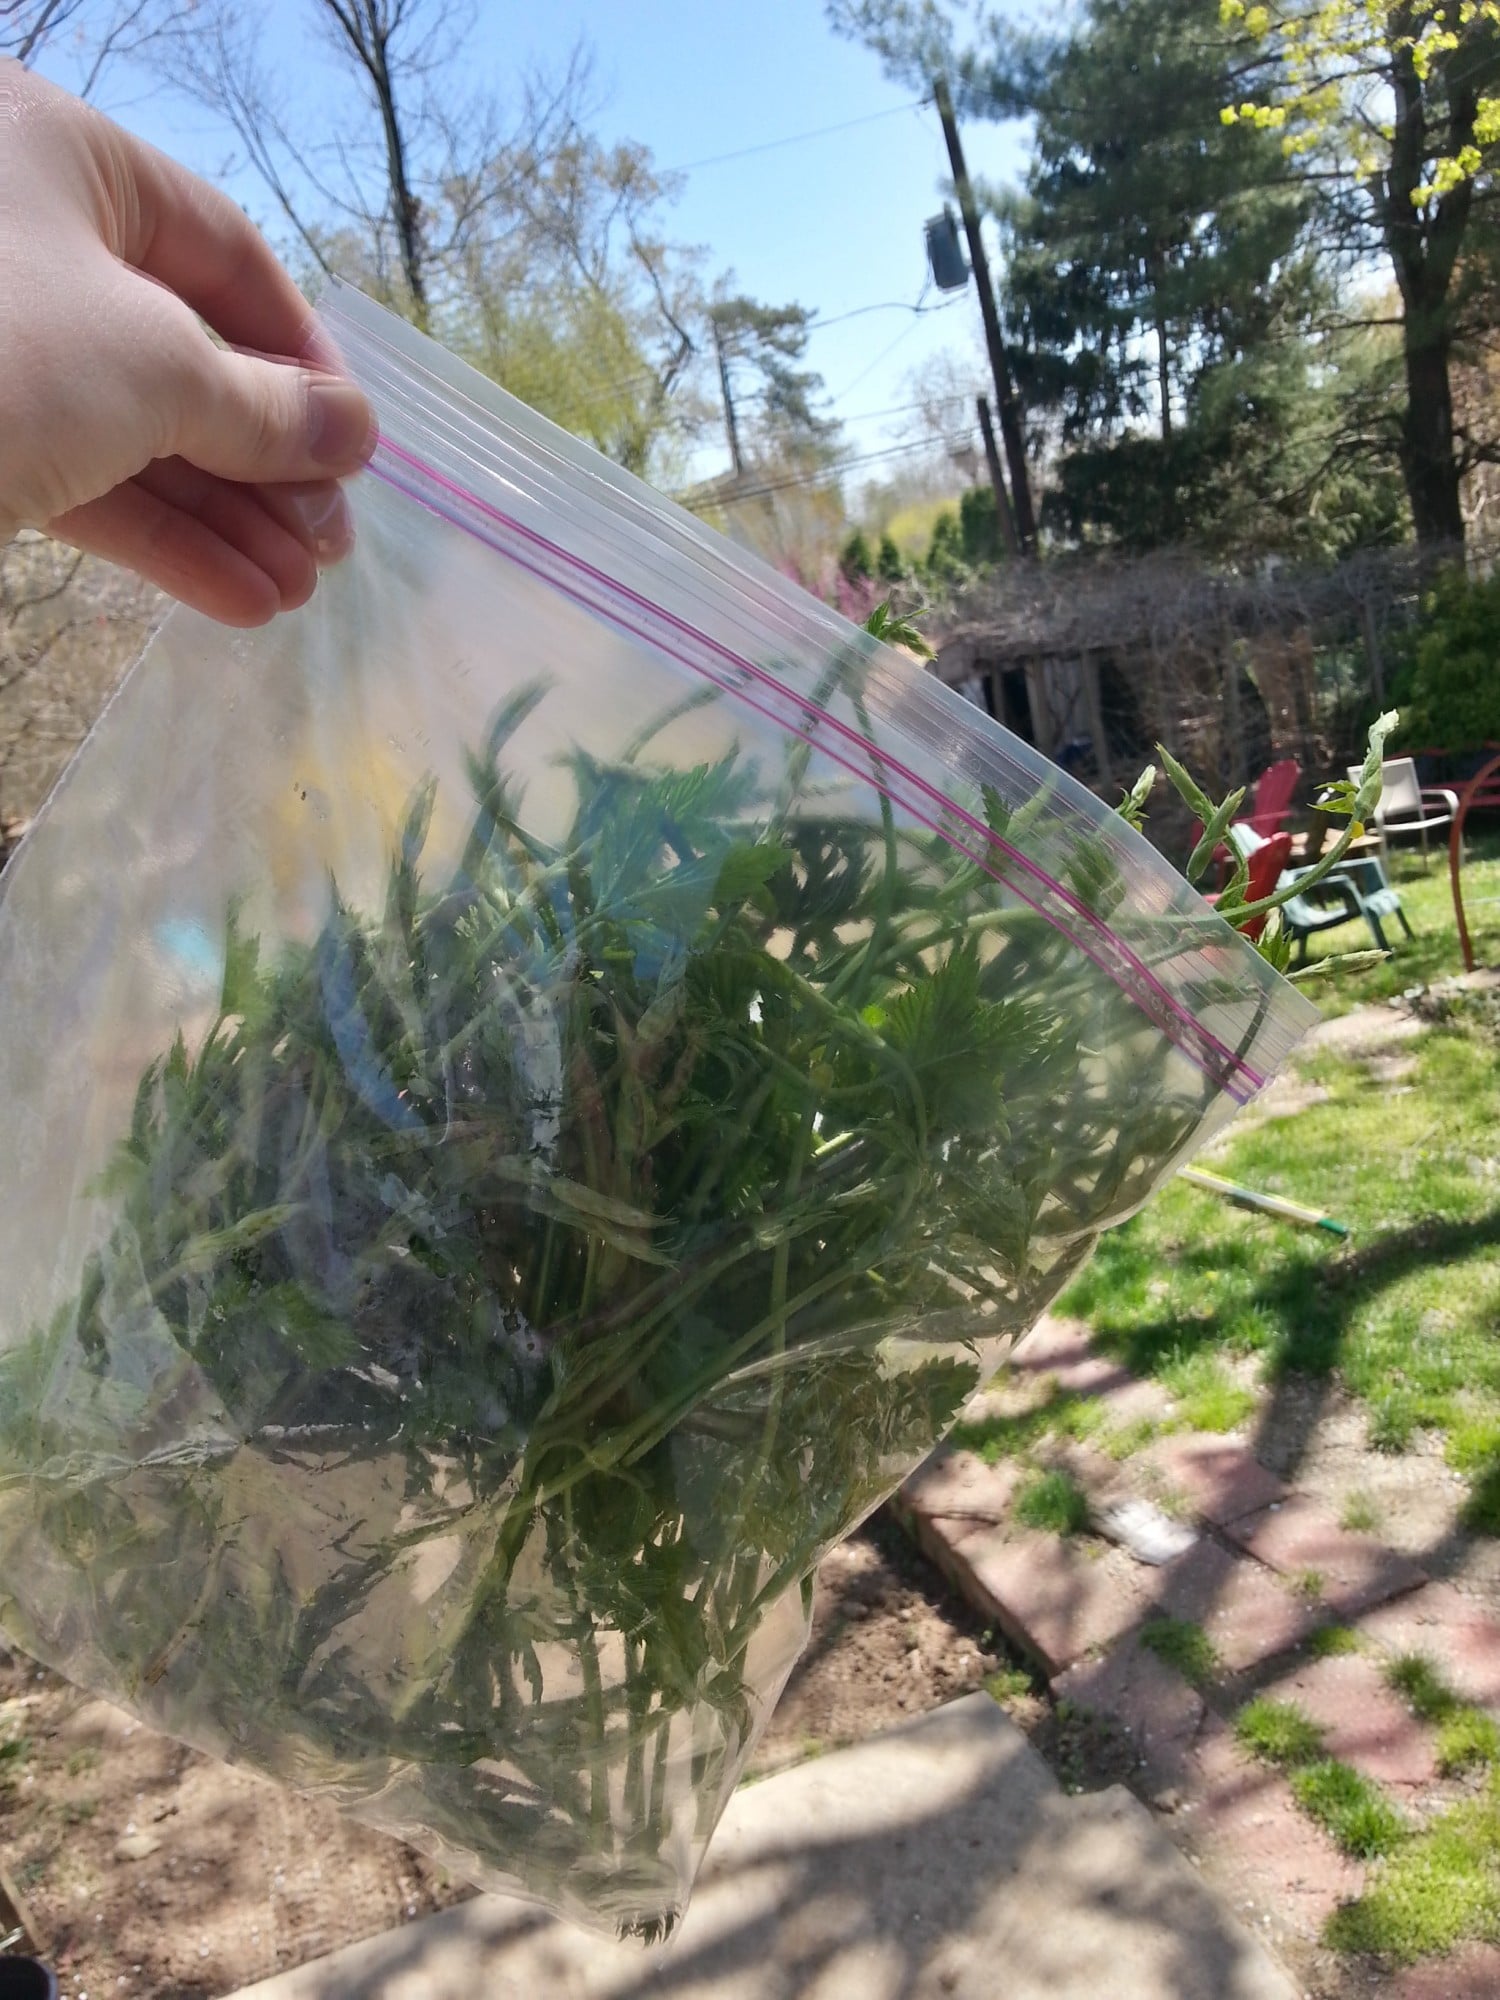
I recently learned that the hop shoots you trim back actually have culinary uses. Town Dish editor-in-chief, Amy Strauss, is taking my hop shoots to try pickling them. You can also saute your hop sprouts if you are not ready to take on pickling.
Harvesting Your Hops
In mid-summer, your plants will begin to grow side-arm branches and vertical growth will stop. Next, your plant will enter the flowering stage and hop cones will start to grow from these side-arms. At this point you want to trim away any foliage, weeds, or branches from the bottom 2-3 feet of the plant. This will decrease the chance of disease, mildew, and pests.
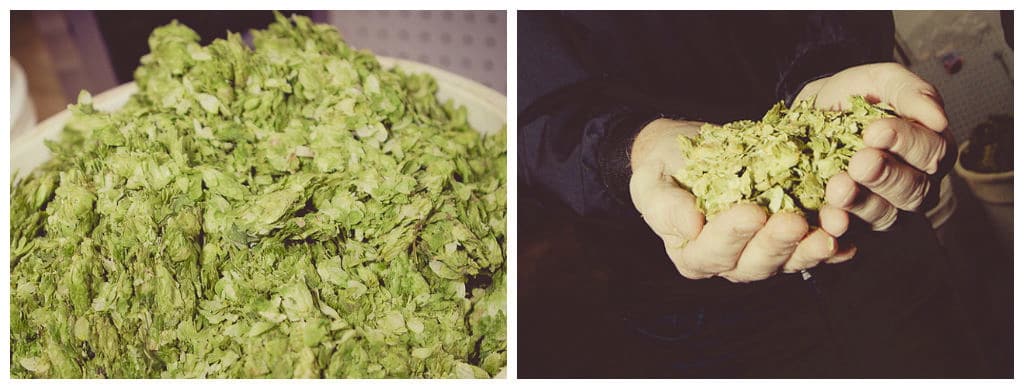
The hop cones will first appear a yellowish green and the leaves will be firm, but will eventually the cones turn to a more yellowish hue and the leaves will start to turn papery and inelastic. When this happens your cones are ready to harvest. At this point you can lower your bines and harvest the hop cones. You can use your hops immediately for a fresh hopped beer, or you can dry your hops for storage and later use.
I will be following up this article with another in mid-summer focusing more on the harvest of the hop cones and the variety of different ways to dry and utilize your new hops. I will also be touching on ways to propagate rhizomes for new hop plants. If you have any issues with pests or disease, Fresh Hops has a great resource for identifying and treating your issue.
There are also great forums for hop growers to discuss their techniques and troubleshoot any problems. I suggest checking out this Homebrew Talk forum and the Homebrewer’s Garden forum.